
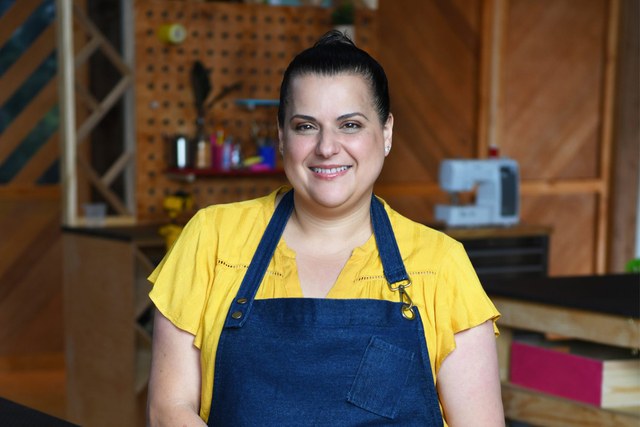
ach month, Stephanie Martinez will share an exciting craft project designed to inspire and spark creativity.
Stephanie starred in the first season of Making It on Network 10, where she discovered and ignited her passion for crafting.
Join Stephanie as she explores the endless possibilities of crafting and turn everyday materials into something extraordinary.
This month, Stephanie is creating a tissue pouch.
Materials
4 pieces of fabric, each measuring 10cm x 15cm
2 pieces of fabric, each measuring 10cm x 10cm
Equipment
Fabric Scissors
Sewing machine
Matching thread
Iron and Ironing board
Pins of fabric clips
Instructions
Step 1
Cut all six fabric pieces to size:
Four pieces at 10cm x 15cm
Two pieces at 10cm x 10cm
Step 2
Take two 10cm x 10cm pieces and two of 10cm x 15cm pieces. Fold each one in half lengthwise wrong sides together, and press with an iron to create a crisp crease.
Step 3
Take the two unfolded 10cm x 15cm pieces. Lay one flat with the right side facing down, and place the second one on top, with the right side facing up.
Step 4
Now start layering the folded pieces on top, all with the folded edges facing inwards. Place one folded 10cm x 10cm piece at the top. Place one folded 10cm x 15cm piece on the left side. Place the second folded 10cm x 10cm piece at the bottom. Place the second folded 10cm x 15cm piece along the right side. Tuck just one end of the last piece so it overlaps.
Step 5
Use pins or clips to secure all the layers. Sew all the way around the outer edge with 1cm seam allowance.
Step 6
Snip the corners and trim any bulky fabric. Turn the pouch right side out and press flat with an iron.